
Thank you so much for all the compliments on Florence's birthday party. Ever since India's first birthday I've enjoyed coming up with decorating ideas and making handmade party favours to fit a theme that most suits the birthday girl at the time. Last year I hit upon the idea of making a mobile featuring a photo of Florence from each month of her first year to hang as a centrepiece. It worked so well, I made another one this year and I thought you might like to try it next time you have a birthday to celebrate.
How to make a Birthday Mobile
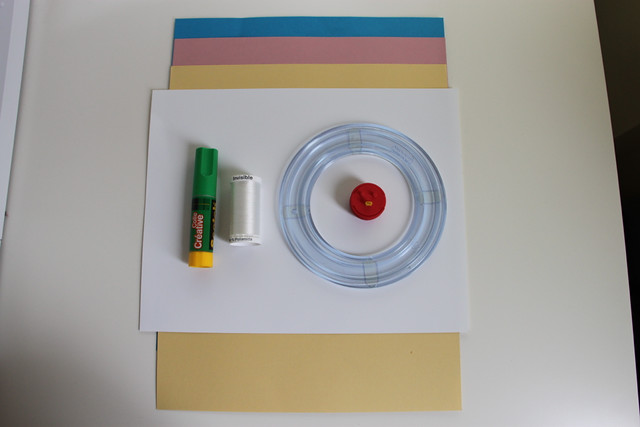
To make your own Birthday Mobile, you will need:
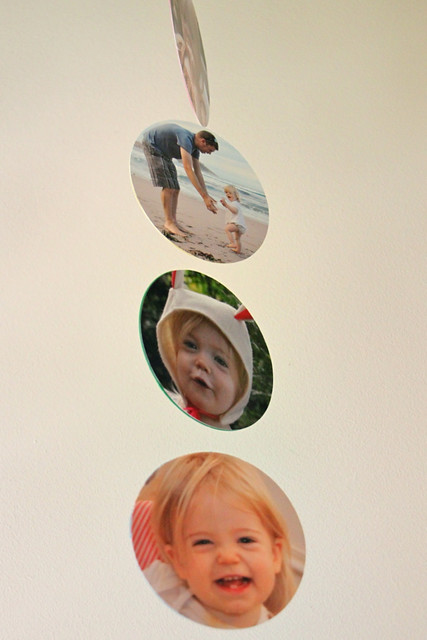
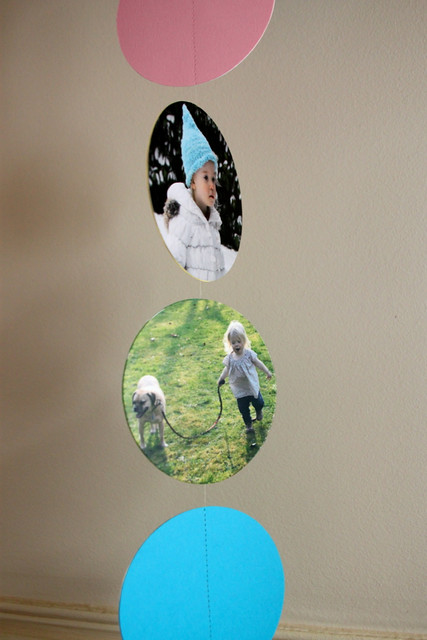
First comes the hard part - choosing the twelve photos you want to use! If you're more organized than me, you might want to start doing this before the morning of the party. Just sayin'! This year I used a mixture of close ups and, because Florence's appearance hasn't changed as much this year as it did from birth to twelve months, I also used photos of some of her milestones like first steps and walking the dog!
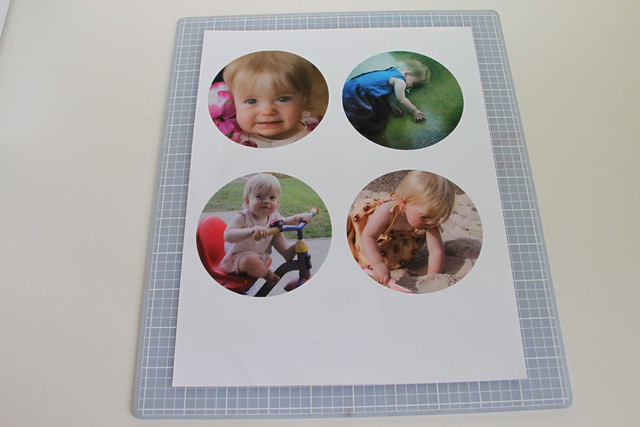
Once you have selected and edited your 12 photos print them out onto your photo paper and you will be ready to start constructing your mobile. I used the mask feature on my computer's layout program to enlarge each image to the exact size I wanted (circle with a diameter of 9cm) but if you don't have that capability you can crop the part of the image you want after you print out the photo.
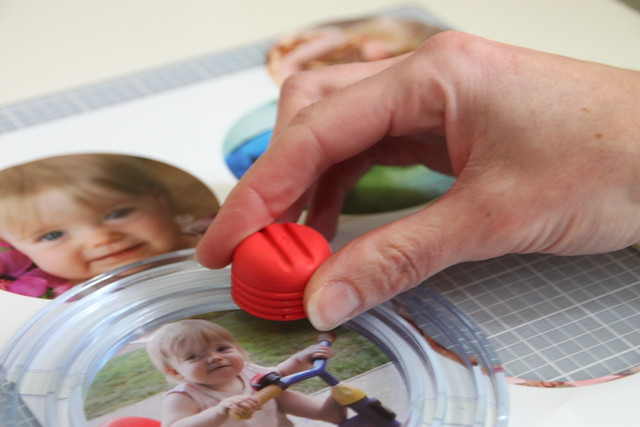
Cut each of your photos into a circle and cut 12 circles of card stock to the same dimensions. You can use all the same colour or a mixture as I did. Whatever suits the party's colour scheme. I used my trusty circle cutter from my scrapbooking days to cut out each circle, but scissors and a drafting compass would work just as well!
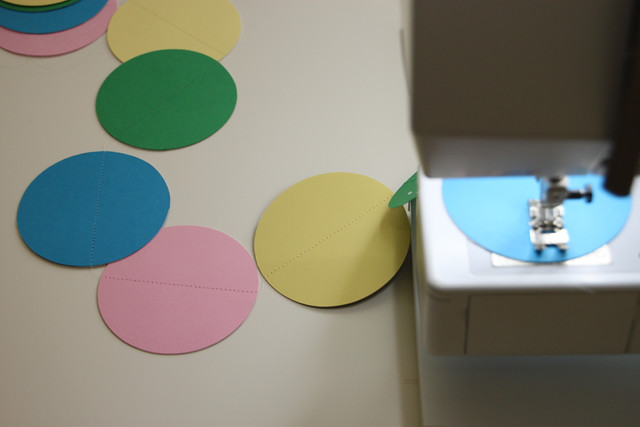
Once you have your set of 12 photos and 12 coloured circles it's time to get stitching. Thread your invisible thread into your machine and sew through the centre of each card circle until all 12 circles are linked in a long string. Just like chain piecing if you're a quilter! Run a couple of stitches between each circle so that the mobile spins when it's hung and be sure to pull out enough thread before you start stitching to use as hanging loop.
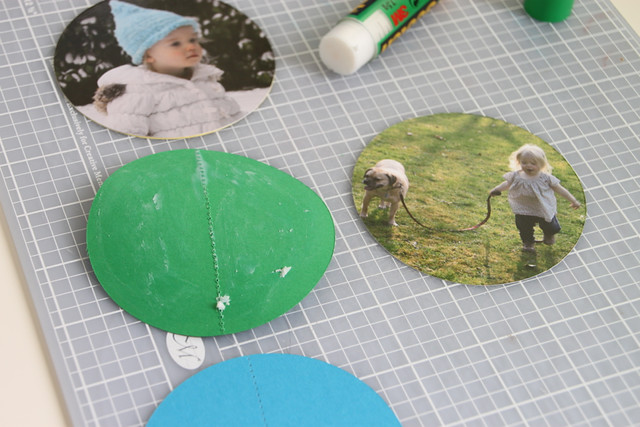
After you have made your chain of coloured circles use the glue to attach each photo to the back of a circle in chronological order.
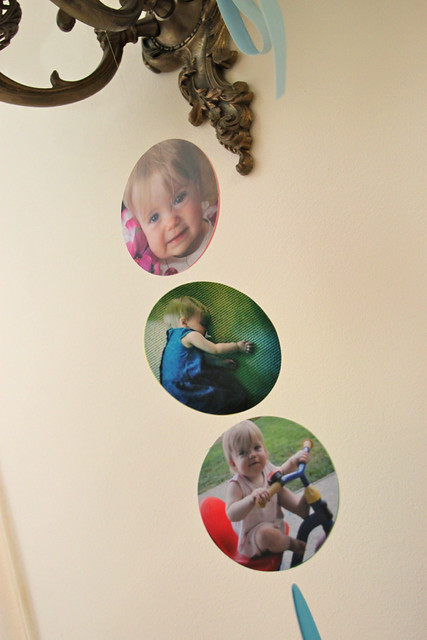
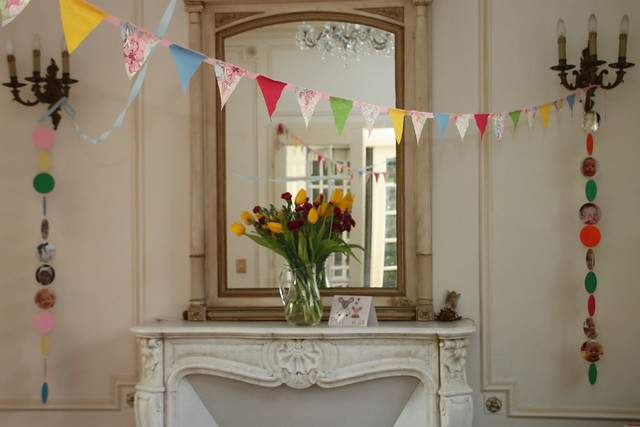
Just in time for the party to start!

Gorgeous - you make it look so simple! I'm intrigued by invisible thread and will have to investigate. Looks like your life is as busy as ever and I had no idea you had moved from the states - where abouts in Paris are you? All the Brits I know seem to be in Maisons Lafitte so I'm wondering if you're there too? I'll look forward to having a better look at your blog sometime, tory
ReplyDeleteVery clever! You'll have to do another one when she's 21 - a circle for each year, preferably the most embarrassing photo you can find! Ooh, a Christmas one would be cute too - if you take the kids for those 'pictures with Santa' you could use each year's photo. First one kid, then two ...then four. I'm regretting missing a couple of years with ours now. Love that scrapbook tool btw - would it work with fabric? :)
ReplyDeleteOh this is fantastic. Kirsty from You Had Me at Bonjour, sent me here, i have 4 children too, in Australia. What a beautiful blog, hello, love Posie
ReplyDeleteWe are a family of firm believers in the festivity of garlands and I would love to add your birthday mobile to our collection. What an amazing, amazing idea! How fun to have one for each year. Such love and celebration!
ReplyDelete